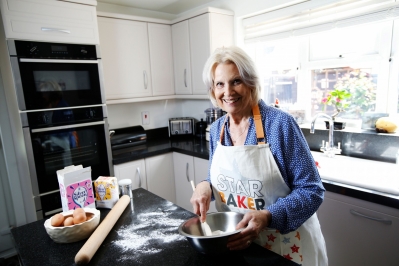
In honour of the Queen’s Jubilee celebrations OX asked a special favour from a special baker: Christine Wallace came to fame as a Quarter finalist in The Great British Bake Off (2013) and has gone on to become a key figure in Oxfordshire’s renowned foodie community.
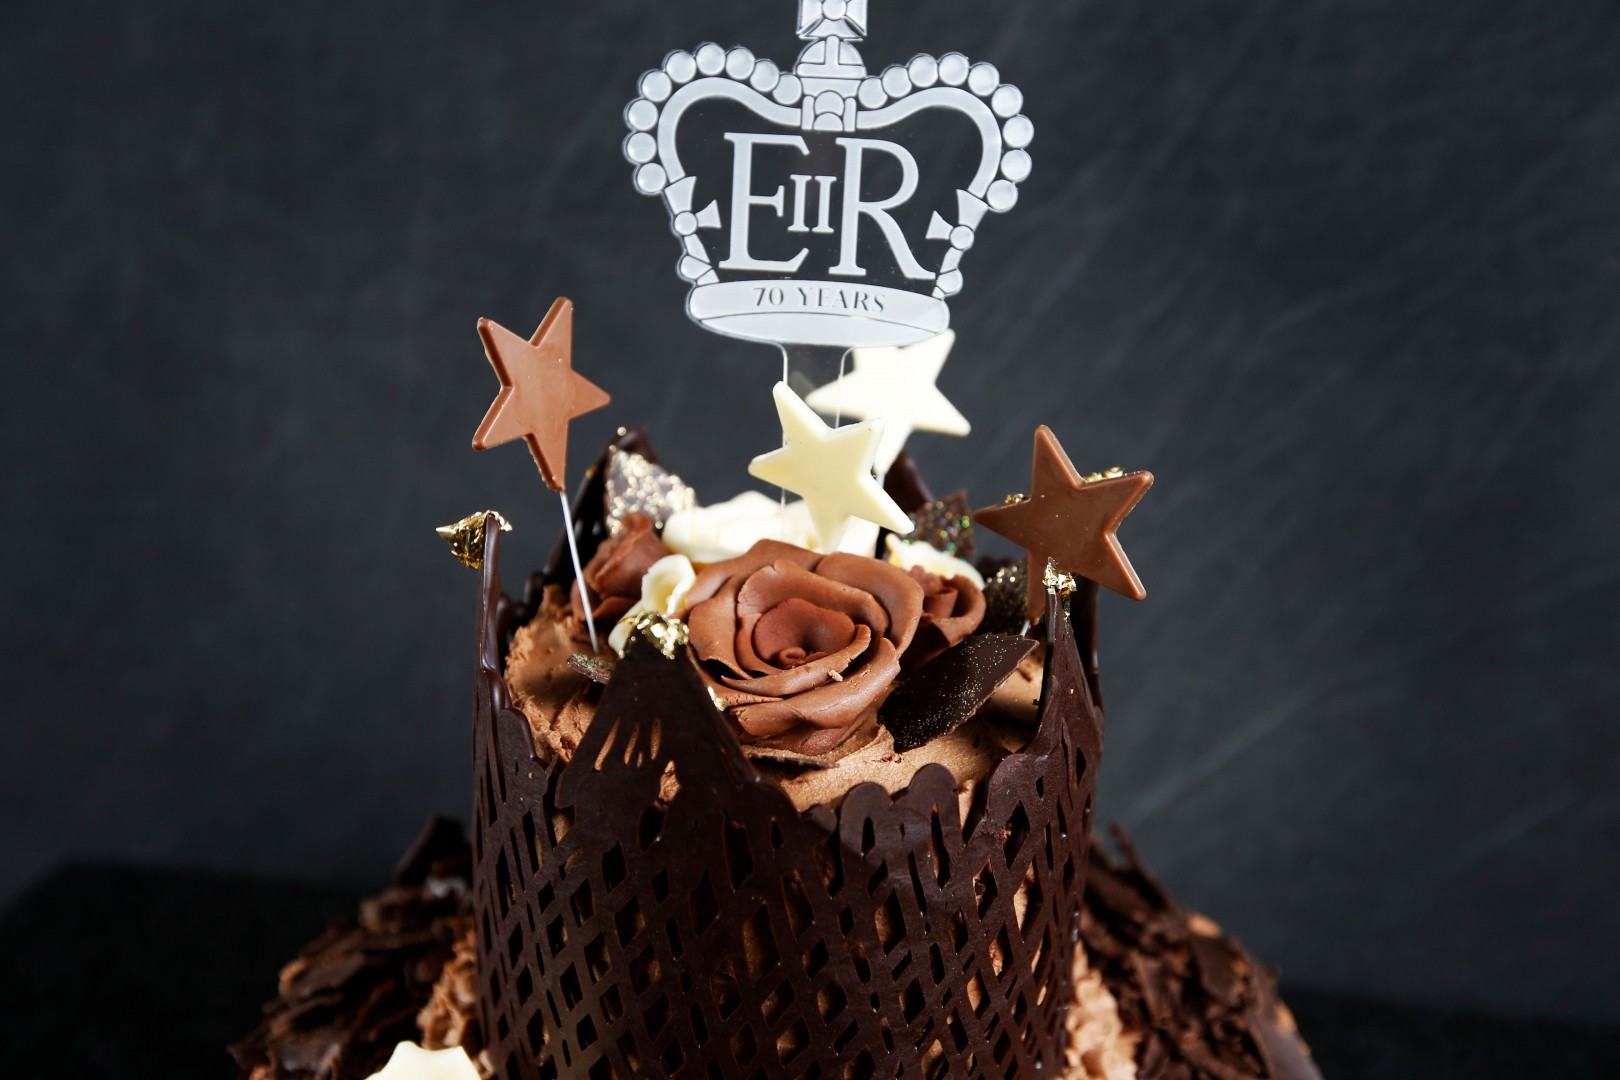
In addition to offering classes and undertaking the odd bespoke commission, Christine founded and organises the annual Didcot Food Festival. She also works alongside her husband, Rob, at his company, Laser Engraving and Design Ltd. Rob’s designs for Christine’s bakes became almost as famous as her creations on Bake Off, and the regal topper for Christine’s Jubilee Cake is one of Rob’s pieces.
“I know the Queen likes chocolate, so I think she’d like this luxurious two tier with its elaborate decorations”
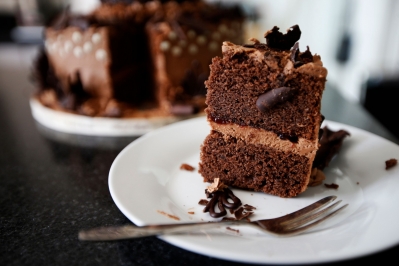
10”/25.4cm Chocolate Cake
Ingredients:
- 195g self-raising flour
- 30g cocoa powder
- 225g caster sugar
- 140g unsalted butter
- 85g baking spread (Christine likes Stork)
- 4 large eggs, beaten well
- 1 level dsp instant coffee powder (not granules)
- 1 heaped tsp natural Greek yogurt
- 1½ level tsp baking powder
- 230g raspberry jam – seedless
For the 5” (12cm) cake, halve the amounts (rounding up the grams). If you only have one tin, bake one at a time.
Method:
- Set the oven to 180˚C Fan
- Grease and line the bottom and sides of your tins with baking parchment.
- Beat the butter and spread together [tip – I like to use a combination of butter and spread for a lighter crumb] with the sugar until creamy.
- Beat the eggs and yogurt gradually into the mixture, adding a little flour if it appears to be curdling.
- Fold in the remaining flour, baking powder, cocoa powder and coffee making sure it is all incorporated well [tip - fold gently to keep in that precious air]
- Spread evenly in the prepared tins [tip – I always make a slight well in the centre which helps the cake turn out level when cooked]
- Place in the oven and bake for approximately 32 minutes for the 10’ and 35 minutes for the 5’ (this is the right way round!). Once cooked, the cakes should spring back when gently pressed or you could use a skewer to test, which should come out clean.
- Leave in the tins to settle for 10 minutes or so, then turn out gently on to a wire rack to completely cool [tip - the cakes can be made in advance and frozen. Defrost naturally before icing.]
Rich Chocolate Buttercream
Ingredients:
- 75g good quality dark chocolate (minimum 70% cocoa solids) [tip – I prefer to use chocolate rather than cocoa powder as I think it tastes nicer]
- 150 unsalted softened butter
- 300g icing sugar
- 1½ tsp vanilla extract
Again, half the ingredients listed for the smaller cake
Method:
- Melt the chocolate in a bowl over a pan of gently simmering water but don’t let the bowl touch the water. You could melt in a bowl in the microwave by gently heating and stirring frequently [tip – I always use Defrost setting]. Go slowly, just a few seconds at a time and take it out when there are still a few little lumps as it will carry on melting with the residual heat. Having the temperature too high will ruin the chocolate.
- Allow to cool.
- Beat the butter gradually add the icing sugar.
- Add the vanilla and beat into the mix and then fold in the melted, cooled chocolate.
- The icing should be soft and spreadable [tip - if it is too stiff, I add a little milk or cream or if too loose add more icing sugar.]
Decoration and Assembly
You could, of course, make just the bigger or the smaller cake but if you’re making the two tier and you will need to put three dowels into the bottom cake before placing the smaller one on top. Once you’ve placed them into the sponge, ensure they are level with the top of the cake (they’re not meant to protrude into the upper layer). The top tier should sit on a slim cake board, cut to fit the exact dimensions. This will make it easier to remove when cutting.
Cover in icing and then decorate your cakes as you wish. It can be done very simply with crushed chocolate flakes, chocolate buttons, chocolate fingers or maybe shop-bought sweets or decorations, such as edible stars or other bits and pieces – the choice is yours. However, here’s how I made my ‘show-stopper’ pieces:
Chocolate Roses: I made these using modelling chocolate and a tried-and-tested technique. I break off a section and divide into six small balls, each around the size of a small marble. Pop these into a plastic bag (like a sandwich or freezer bag) and lay on the work surface so that they are well-spaced. Flatten each with your thumb (whilst still in the bag) and then work them into teardrop shapes, with one end thinner than the other. Take out of the bag and starting with the smallest, roll it into a curl with the thinner end at the top. Then, taking the next largest, wrap it around the curl – again, thinner end on top – ensuring that is slightly raised from the base of the curl and so will start to build some height to your flower. Keep wrapping the shapes around your ‘bud’, each slightly higher than the next, tucking and layering as you go. You will end up with a realistic looking rose. Remember, nature isn’t always perfect so don’t worry too much about the odd crack. There will be quite a thick base on your flower. Snip this off, leaving a flat bottom which will easily sit on the surface of your cake. For larger roses, make more petals, but keep to an even number. [tip – this also works for making sugar roses. I like using a mixture of fondant icing with sugar modelling paste which helps it to remain pliable when thinned and stops it drying out so quickly].
Chocolate Scrolls and Shards: After melting my chocolate, I pour it out over a piece of parchment paper and leave it a few minutes so that it is set, but not hardened. I use a veg peeler, drawn over the surface to create the different shapes.
Chocolate Crown: The Crown looks splendid and makes this into a real occasion cake. It’s also more simple to make than you might expect. I made mine by first measuring the height and circumference of my cake. I then cut out a slightly larger piece of parchment paper and, using a Sharpie, drew on my design as a guide, allowing an extra centimetre on the circumference to allow a small overlap. After melting the chocolate, I used a bag to pipe the design onto the paper and allowed this to cool a little. Again, you don’t want it to harden but you should be able to gently touch the chocolate without it transferring onto your finger. Once set, wrap the parchment around the cake (this can be tricky, but be bold) and put it into the fridge to harden up. The parchment paper will peel away easily once the cake is cold.
Christine Wallace will be at Didcot Food Festival this Autumn. The event is held at Didcot Civic Hall on the 24 and 25 September from 10.00 – 16.00. There will be over 50 exhibitors of fine artisan food and drink, live demos, street food and plenty of children’s activities.
Chefs appearing in the Demo Theatre include:
Aaron Middleton – MasterChef the Professionals 2021
Andrew Scott – Great British Menu
Kuba Winkowski – Chef of the Year 2019
Crystelle – Bake Off 2021
Christine Wallace and Sam Rudd – GBBO and The Extra Slice
This year’s event will be opened by Sue Pollard at 10.30am on 24 September.
Tickets cost £6 on the day or £5 when bought in advance at didcotevents.co.uk

