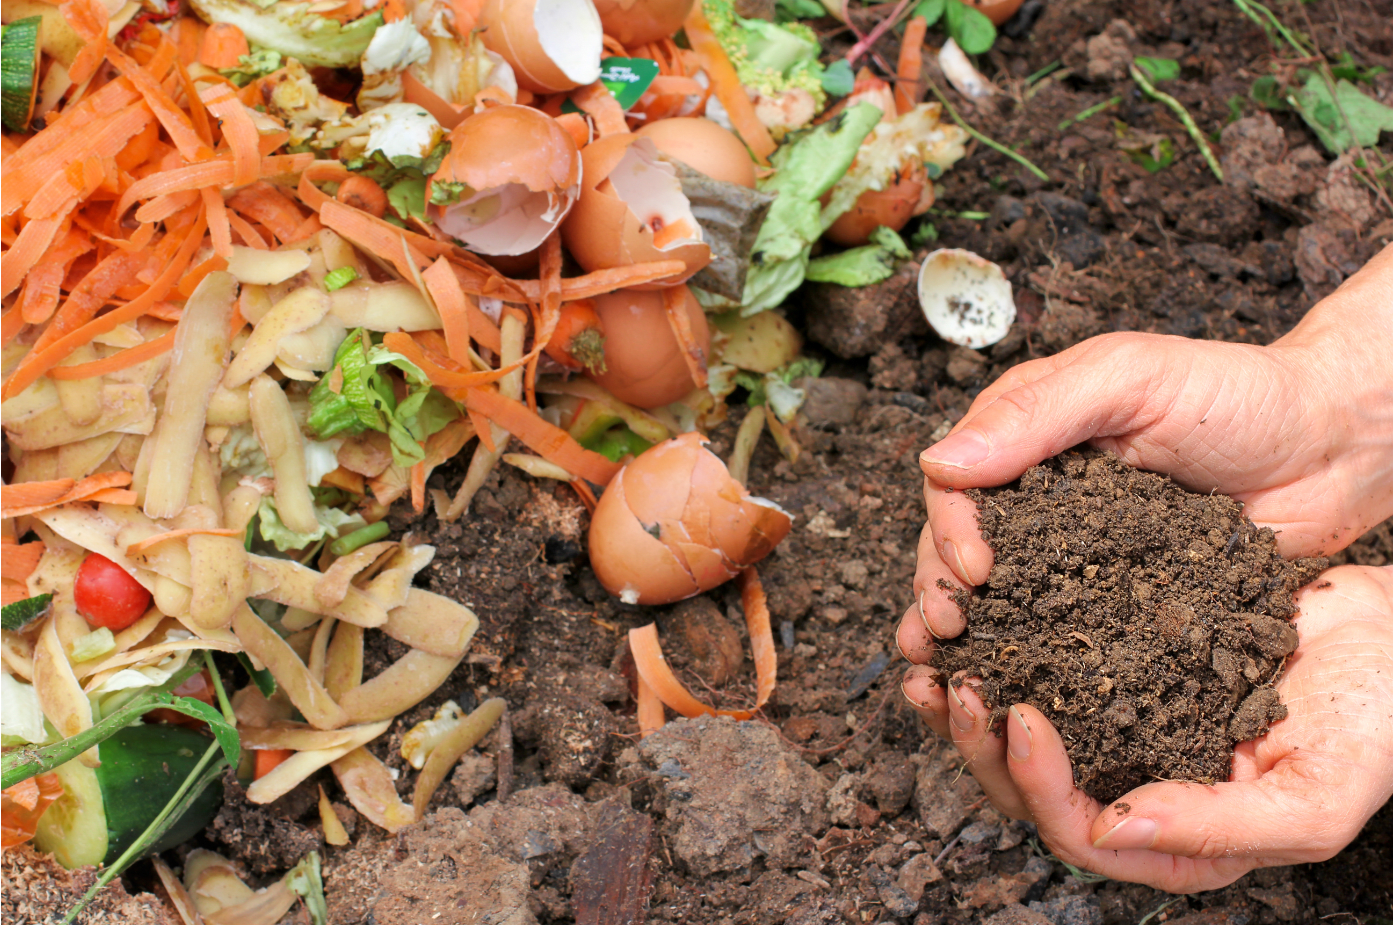
Every time we throw vegetable peelings, fruit peel or cores, coffee grounds or eggshells into our kitchen waste bin, we could be helping – not only our environment – but also our garden, by adding these materials to a compost bin or wormery instead.
If you have the space in your garden, by combining garden waste, vegetable kitchen waste, coffee grounds and shredded paper, you can produce home-made compost which becomes a valuable soil improver. You can add items to your compost heap/bin all year round however late summer to early winter can often be a good time for composting.
So where do you start?
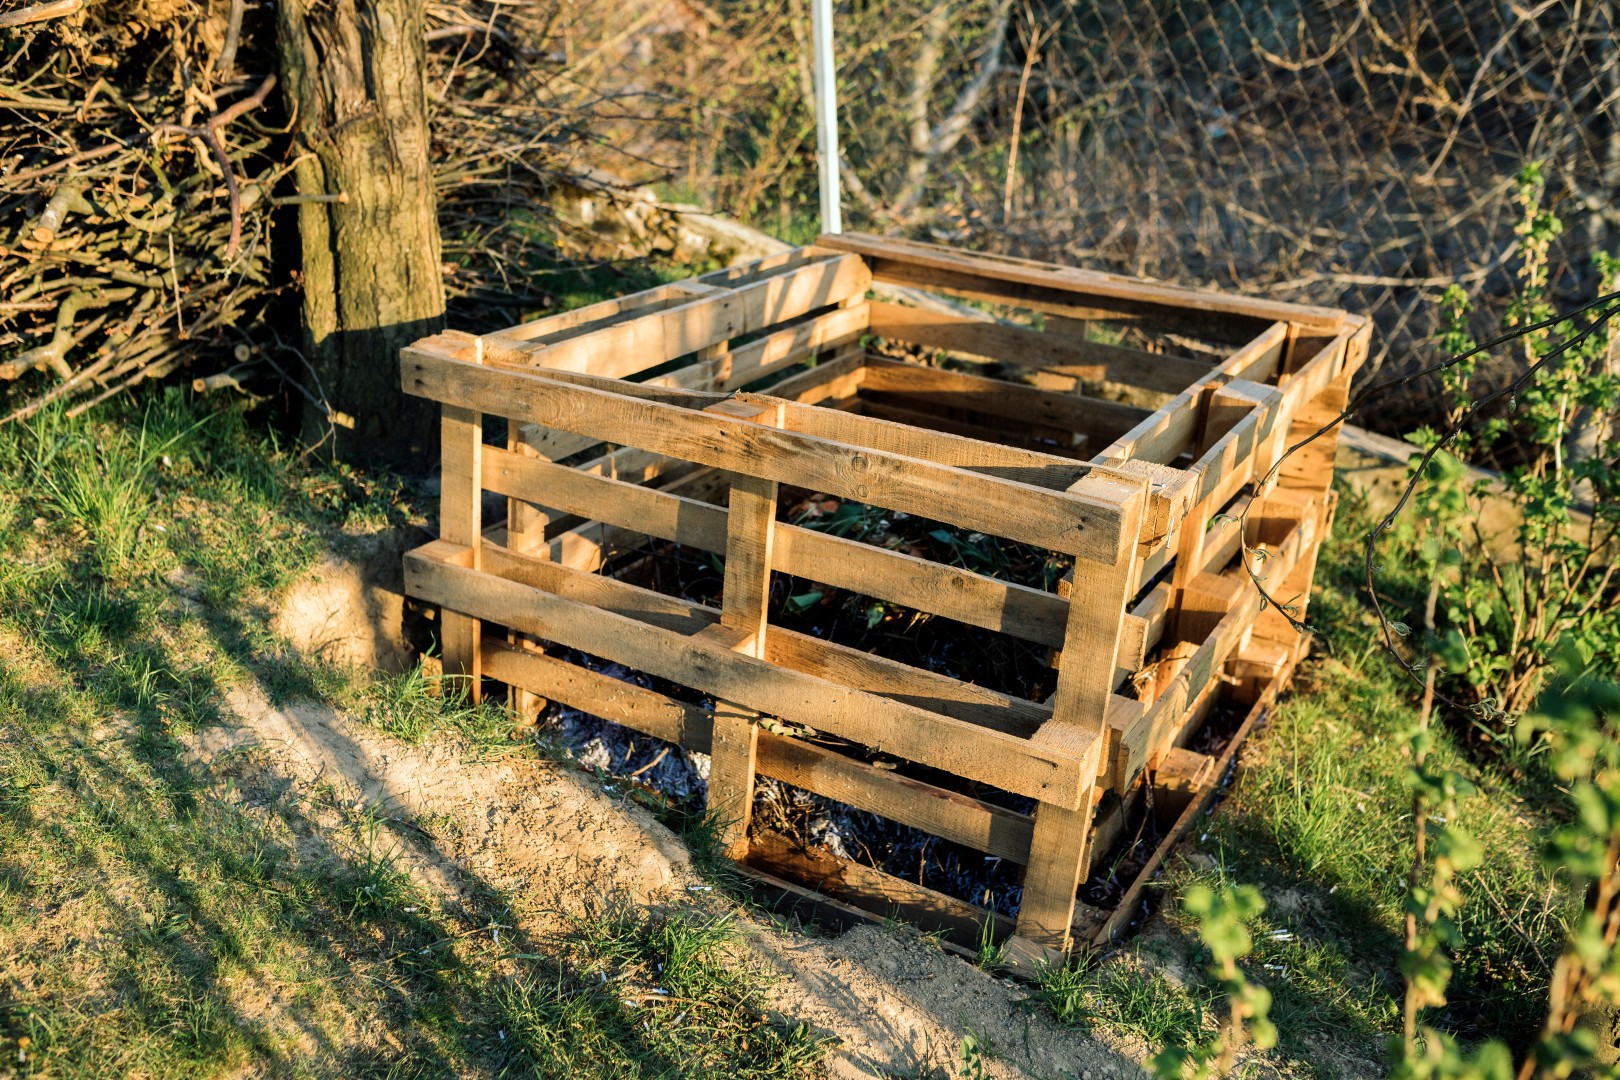
Finding the right site and container is key. You need to locate your compost bin in light shade or shade as extremes of heat and moisture affect the micro-organisms (bacteria and fungi); they like constant conditions to enable them to convert the waste to compost. Once you have found a suitable site, you need to decide on your compost bin. It is preferable to place the bin on an earth base which allows drainage and access to soil organisms. However, if you need to place it on a hard surface, simply add a couple of inches of garden soil to the bottom of the bin.
Whilst plastic compost bins make good quality compost more quickly as they retain some warmth and moisture, an open heap will work over a longer period of time. If you opt for a plastic compost bin, it needs to exclude rain, retain some warmth, allow drainage and let in air. Smaller bins (less than one cubic metre) are less effective than the larger ones.

What to put into your compost bin.
You need to use a layering technique to avoid it becoming compacted. Aim for up to half of the materials to be a mix of green waste: grass clippings, vegetable and fruit kitchen waste including crushed eggshells, coffee grounds and annual weeds. Avoid using weeds such as bindweed, mare’s tail and ground elder as small quantities of these plants can lay dormant in the compost and be easily incorporated back into your garden, creating untold problems. The remaining mix needs to be woody brown materials ranging from torn up newspaper, cardboard, straw, dead leaves, woody prunings and hedge trimmings which have been cut into smaller pieces. It is particularly important not to let your grass clippings dominate the heap otherwise you will end up with a slimy, foul smelling mess.
You can accelerate the rotting process by adding products high in nitrogen where green waste is limited. Carbon activators can be added when there is insufficient brown waste.
Ensure your composting occurs as quickly as possible by turning your heap.
This adds air which helps the composting process occur. If the heap is too wet or is compacted, the composting process slows down. If possible, place a load of composting materials on the heap or in your bin. Turn it once a month to introduce air. Failure to do so can be one of the reasons why home-made compost may not be as good as soil conditioner which is produced commercially. During periods of prolonged dry weather, keep the heap moist. Regular turning will enable you to assess how damp the contents of the compost are.
If your compost is wet, slimy, and strong-smelling you need to add air. Cover the heap to protect it against rain, adding more brown content to soak up excess moisture. If the compost is dry and fibrous this is due to lack of moisture and excessive brown material. Add additional green waste or use a nitrogen rich accelerator.
Making home-made compost is a slow process; it can take anything from six months to two years to decompose completely. However, the result will be a dark brown, crumbly soil-like texture that smells of damp woodland. It is worth the work as your garden soil and plants will benefit from this rich organic compost.


